Saturday 29 September 2012

Carburetor / Engine Manifolds (Day 42)

 Here is the first (LHS) carb boot / manifold.  This is a cast (looks like iron) part on the engine side and a rubber manifold on the carb side.  The rubber O ring gasket (now completely crushed flat) seals the metal part of the manifold against the engine.
 Really don't know if I will be able to salvage these manifolds.  They are pretty rusty engine side.  Obviously new O rings required.
Paint has flaked of the metal (engine side) flanges.  How to clean that up without damaging the rubber.  Rubber is still pliable so I think I would be able to get a good seal with the carbs.

Tuesday 25 September 2012

Footpeg Removal (Day 38)

Tried to get the footpegs off with my new 14mm spanner and penetrating fluid.  Nuts came off but footpegs are rubber mounted and I could not remove the bolts from the rubber.  Bit of WD 40 left to soften the rubber and will try again tomorrow.

Cleaning Chemicals


Went and got some cleaning chemicals and the 14mm ring spanner missing from my set.  Gunk Green Clean (hope it's not so green that it doesn't work), Halfords Shock and Unlock (for seized nuts and bolts), Swarfega (do you remember that stuff - doesn't smell like it used to), thinners, Autosol metal polish (used to get through tons of that).  Now for the hard work.

Friday 21 September 2012

New Brake Lever (Day 35)

Very exciting day for me today; I got my first new part in the post.  A beautiful brake lever.  Fabulous satin black powder coat finish.  I am in love. 
 
 I don't expect you to understand but it is love.  It is also encouragement.  I imagine the whole machine in this state of newness again.  And it propels me on.
 
This is where it goes.
 
One day the whole engine may look like that except of course the side casings which are just polished alloy.  I will do all the frame and parts like this.  Even the engine barrels and casings were originally painted black (or powder coated) except for the polished alloy side casings of course.

Saturday 15 September 2012

Dismantling log

 
Call me obsessive but unless I log it I will forget where everything is and what it looks like.  It has to be done.

Friday 14 September 2012

Engine Oil Window

Very corroded engine casing but it does show that oil is still in it's belly so hopefully we might get away without a total engine rebuild.  If I could just do the top end it would save alot of work.  We shall see.

Speedometer

Speedo lens looks like spiders have spun a web around the outside of it.  I am sure this is not something that is inside.  It is more like stress marks in the perspex lens of the speedo.

If you click on the picture it will take you to a bigger copy where you can clearly see what has happened.

Is it likely that we can find spare speedo lenses?


Thursday 13 September 2012

Front fork examination (Day 26)

 The question is; are my forks US or can they be retrieved?  I believe there is a process called Hard Chroming that puts a thick layer of chrome on and then the stanchion can be machined back to original size.  Sounds costly.
 This looks bad to me but most of the pitting I think is above the line where the fork seals would come to on full compression (heavy breaking perhaps).
 I think this was a fixing for some klind of windscreen.  The bike never had a full fairing.  But Dad did have a wind shield.
 Reflectors are in good shape.
 Badge is good too.

Airbox examination

 Airbox is in good condition probably due to the fact that the air filter was nice and oily
 
  Rubber is all in good condition.
 
 Side panels need to be re-chromed.

 It looks to me like the air filter was not seating properly.  This may have come adrift when the bike was in transport at some stage. 
Foam seal needs replacing.  From what I have learned on the fabulous GS Resources Website (http://www.thegsresources.com/) is that the bike will only run really well if the airbox has no leaks.  I will need to pay attention here.

Wednesday 12 September 2012

Carburettor

With the fairly simple removal of the airbox completed I decided it was time to crack on and get a major component off the old beast.  So the carbs were next.  It was quite straight forward.  Used plenty of WD40 to get the rubber manifolds slippery and slackened the retaining rings off.  My biggest problem was unattaching the throttle cable and the choke cables.


 Choke cable is attached to the top of carb 2 (from the right).  I tried at first to take off the retaining bracket which meant removing the forward screws on the carb top.  Only managed to get one of these off.  The other one stripped the cross threaded head.  Had to hacksaw a cut in it to get it off but in the process discovered that the choke cable nipple would pull through the angled metal sheath so in the end the removal of this bracket was not necessary!
 Choke cable sheath bracket.
 Took of the top of this carb.  Looks OK.  Rubber is good.


 Corrosion is quite bad on the bodies but I am hoping the elctro sonic cleaning will sort this out.
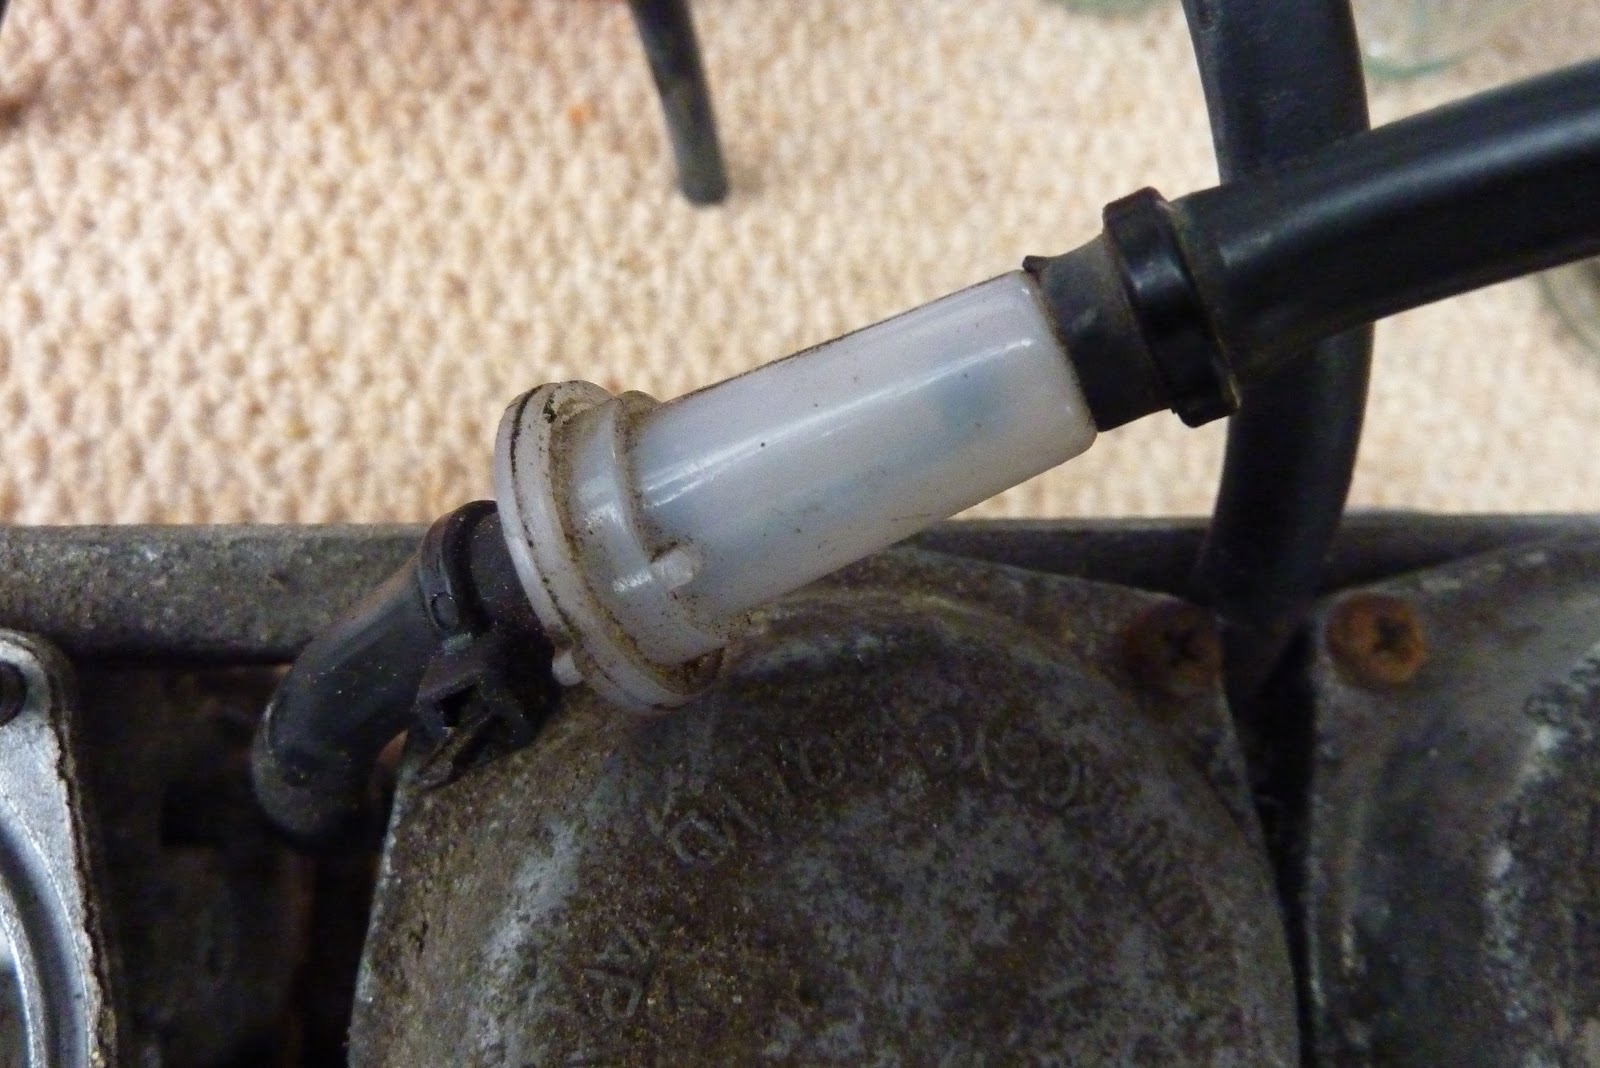
 I think this is a non standard fuel filter.
 Butterflies are OK.  This is the worst one but it is not corroded just discoloured.
 Throttle linkages.
 Nicely corroded link bar - but I think it will come good.

 Float bowls are a bit dire and the drain plug is one of the worst corroded items on the bike.

 Throttle idle speed adjuster is pretty grim.  Not sure if I will be able to resuscitate this.

 Carb tops are pretty rubbish but I have seen worse.


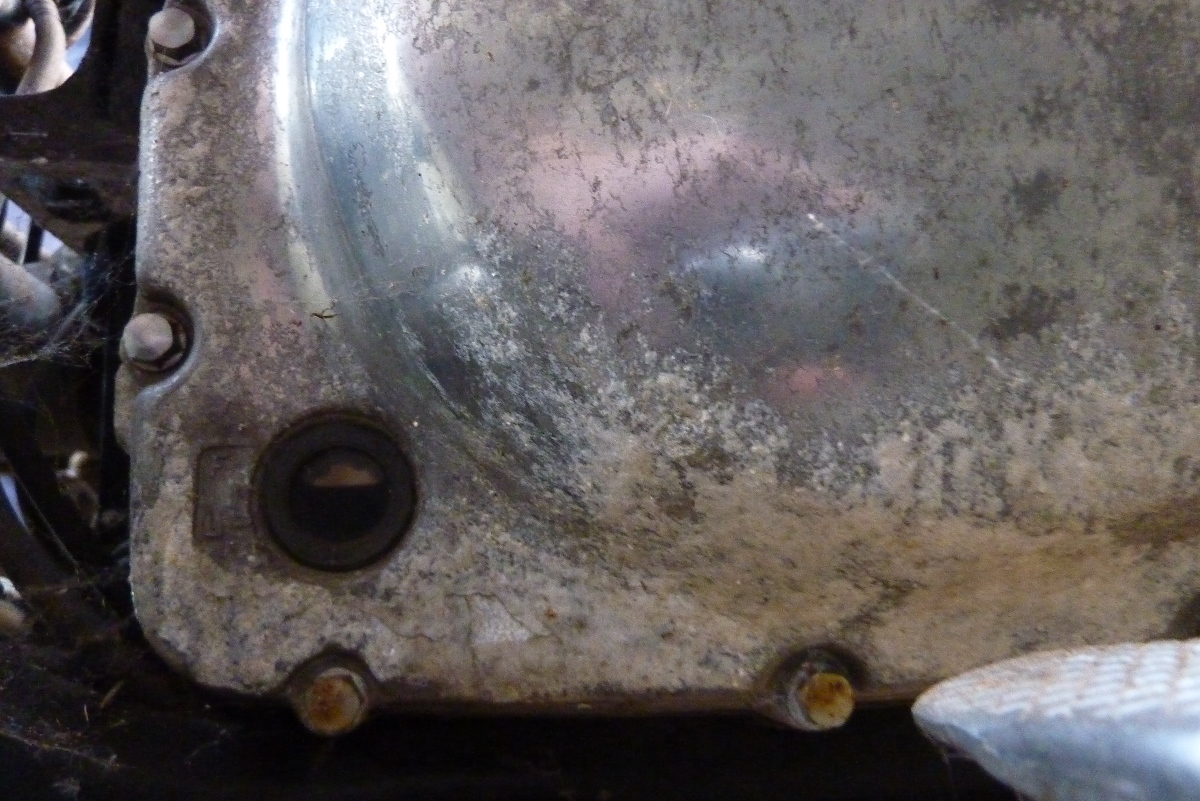
 Inlet manifolds show some signs of corrosion but it is not major and I am not concerned.  It looks like there has not been too much moisture getting into the engine despite being left outside (mostly uncovered) for 10 years in rainy UK.

These end cap thingies have had it.