Showing posts with label painting. Show all posts

Monday, 17 April 2017

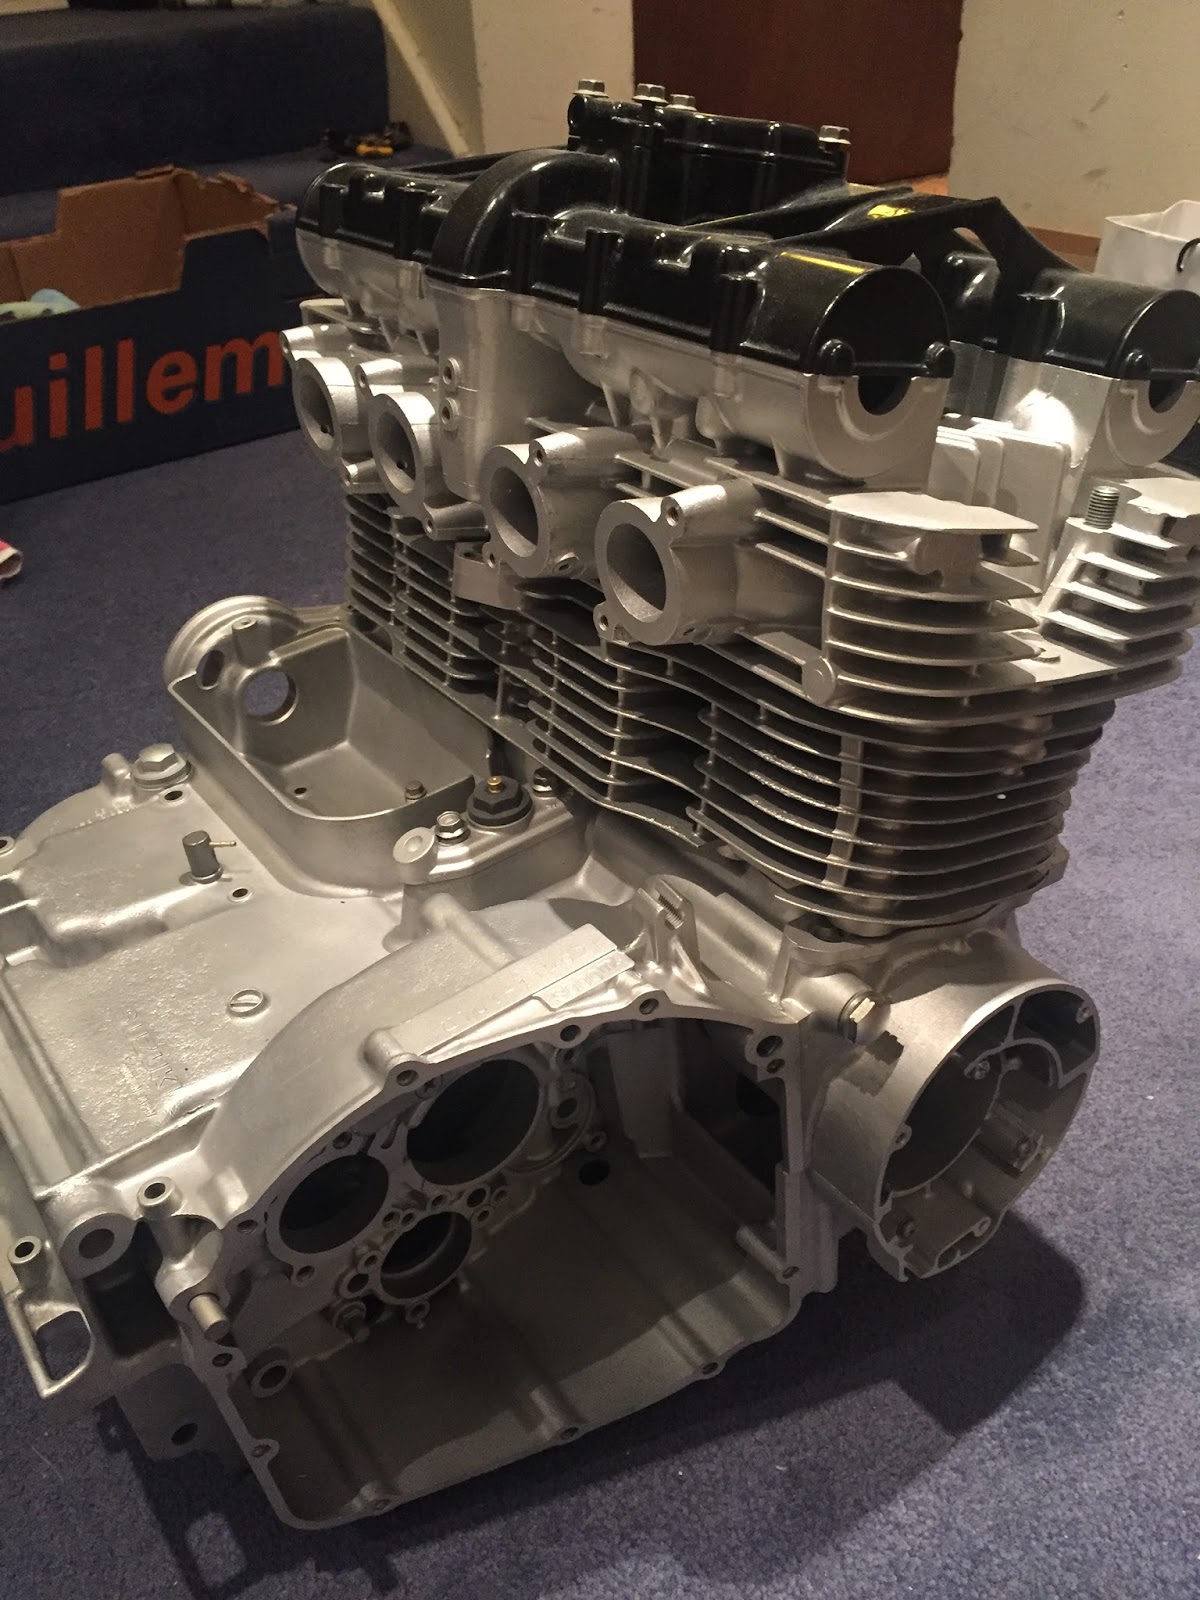
Vapour Blasted Engine Comes Home


Got the cases back now. They did an aggressive blasting to try and eliminate all the corrosion. Mostly this has worked well but still a few places where I'm going to have to wet and dry.


In any case (get it?) it's a good finish for painting. The cam cover I have painted as my test piece using VHT paints; Engine Enamel Primer, Barrel Paint and Satin Clear Clear. Comes up good.


And a reminder of what I started with:


Sunday, 12 January 2014

De-Painting Inside of Yokes

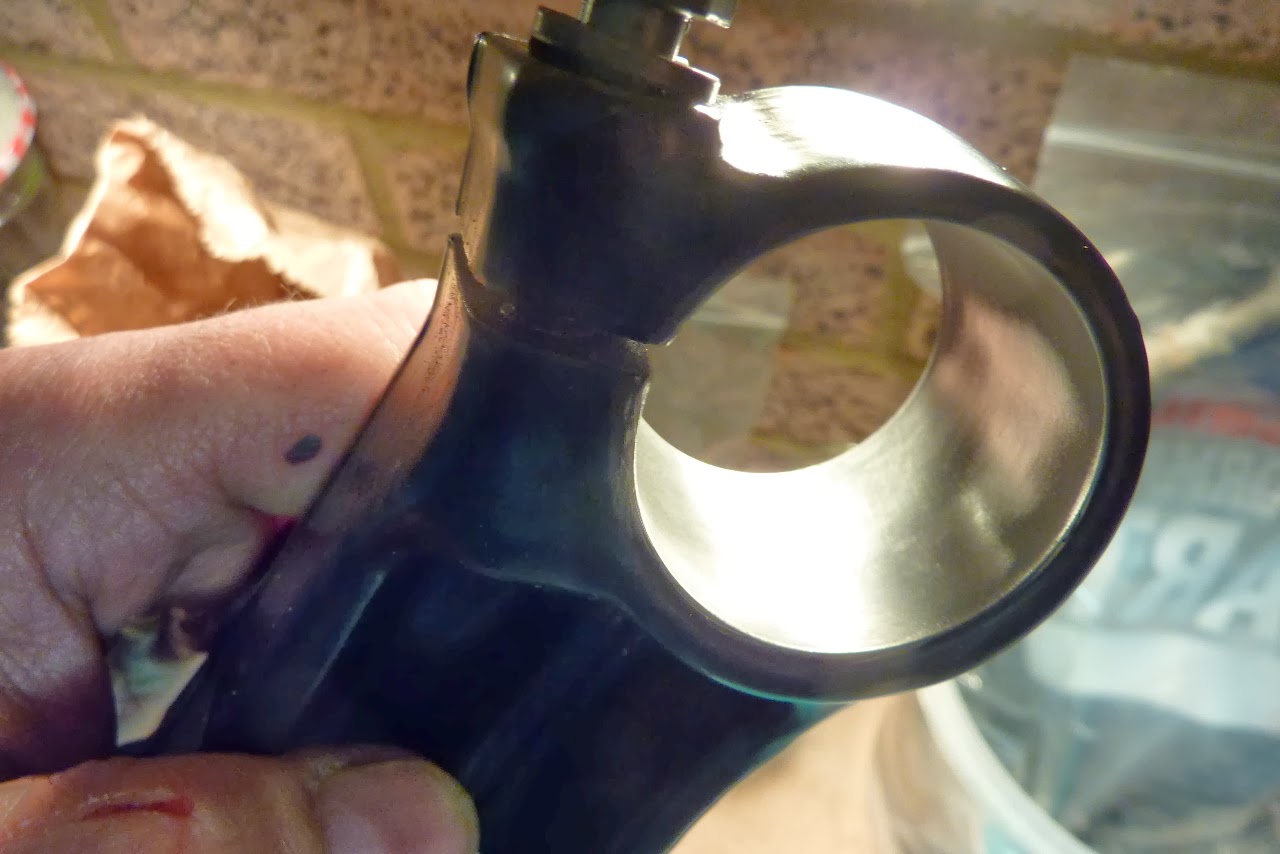
The powder coating had to be taken off the inside of the fork yokes or Ts.


 Fork stanchions slide in quite nicely now.

 Be careful not to hit any outer surfaces with that abrasive.
 

And BEFORE you test putting in the stanchions, clean out all the grit so the stanchions do not get scratched.

 Then I need to work out if the flat section, where the bearing will rest, needs to be cleaned up too.  My surface here is quite lumpy.  I don't think this is paint build up but it could be and there is also a washer that should cover it up.  I don't want it to settle at a later date forcing me to do another head adjustment.


Steering Head Assembly Issues

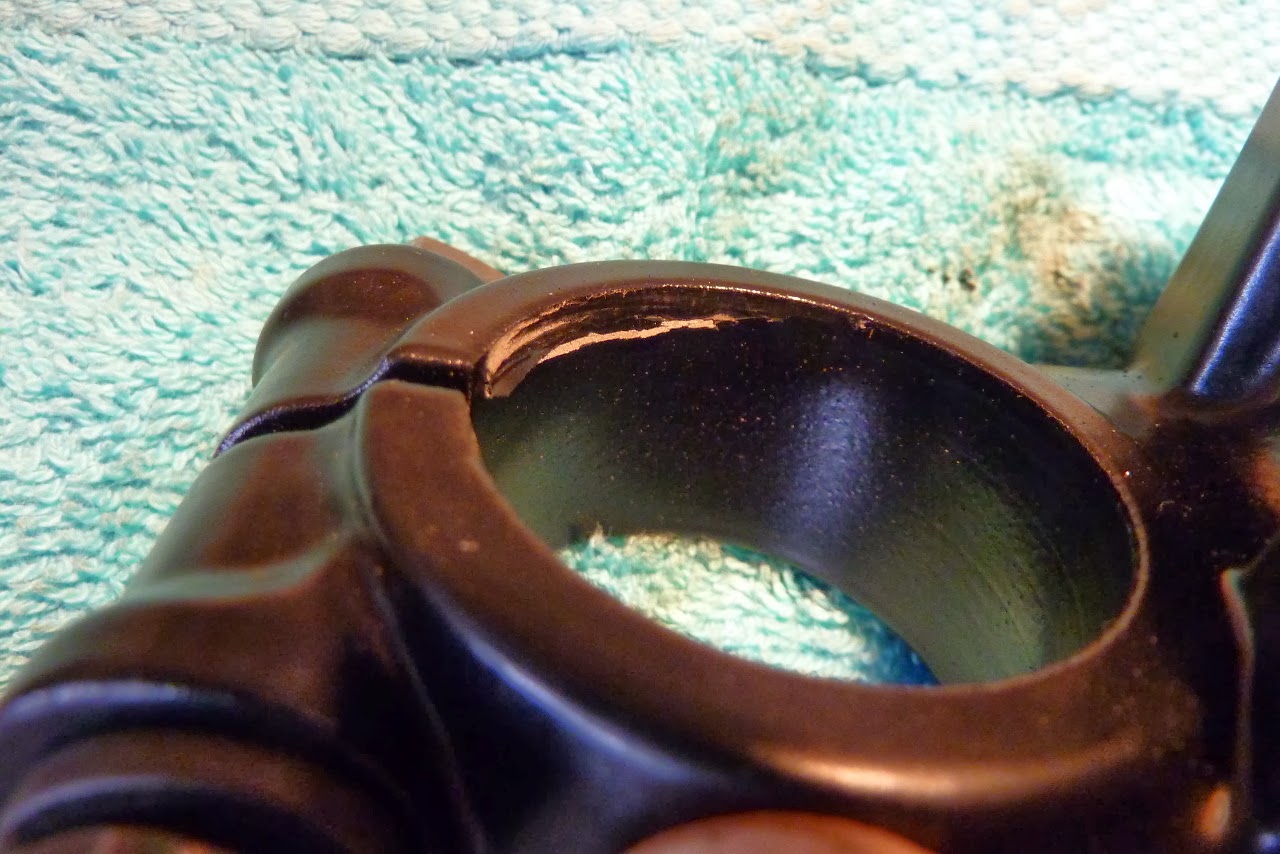
Just been pointed out that due to the powder coating reaching the insides of the fork yoke clamps, it is unlikely that I will be able to put the stanchions back in with removing the paint.  You can see here how beautifully the insides have been painted.  Oh dear!


 And indeed the fork stanchion will not go in.
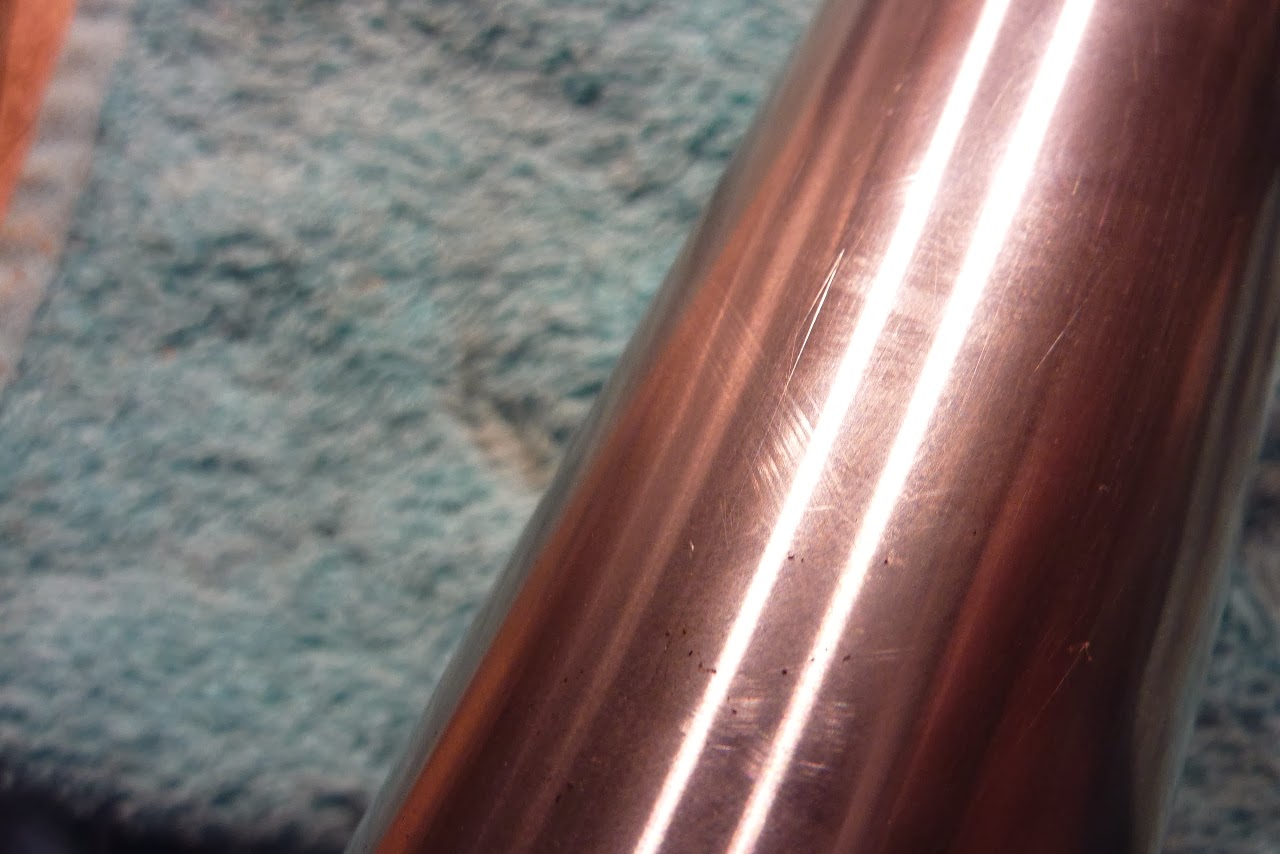
 And this is why.  It is trying to scrape the paint off.
 
  Is this the way to do it?

Saturday, 11 January 2014

Preparing Steering Head For Reassembly (Day 511)

After some time dealing with my other bike (My GS1100G Road Runner Blog) and enjoying riding it over the last part of the summer of 2013, I am back on the original project and I am starting on the frame / forks reassembly.

All of my parts and frame have been beautifully powder coated at Performance Powder Coating in East Kent.

Now I am preparing to reassemble the steering head.All the powder coated parts look great and we are ready to go.


The stem was wrapped in masking tape that was baked at high temperature.  This meant the tape was very hard to remove and when it did come off it left a sticky residue.


 Removing all the sticky tape glue with a "sticky stuff" remover.
 Then I needed to dress the damage I had done when I was busting off the old race with the Dremel.
 And prepare the stem for the new bearing.
Then I needed to tap the handlebar retaining bolt holes as these had not been protected from the powder coating.
 
 
 I also spent some time wire brushing up the original clamp bolts.

Then let's see where these bearings go.
 I think there should be a washer underneath that bearing.
 
I need to find a way of pushing this bearing right down to be in contact with the T section (including the washer which is not present).

Thursday, 11 July 2013

Frame Powder Coated

This is what we started with (click images to enlarge):
Rusty, dirty and not so nice. . . .
and this is what it looks like after powder coating with a satin black finish:
 
  I am in love.