Now to get the cases apart and not to forget all the bolts top and bottom and the retaining plate clutch side. (Click on images to enlarge)
Welcome to my 1983 GS1100 G Restoration Project. This bike has been in my family since new. It was bought by my Dad new in 1985 in Ontario, Canada. He toured the US with it with my Mum on the back (both have since passed away). I imported it into the UK around 1996 and rode it around London for a couple of years. Then it sat in the garden for 10 yrs (oh the horror!). Now: RESTORATION. Please use contact form page for comments. Click on photos to enlarge. Project started 18th August, 2012.
Saturday, 5 November 2016
Sunday, 9 October 2016
Sump Comes Off
Lets see what's happening in the sump - always tells you what's been going on in the engine:
There was a little bit of gunk in the bottom - nothing to worry about considering this motor has been idle for at least 15 years.
And with the filter, I took the mesh off and there was nothing in it at all.
Labels:
dismantling,
engine
Barrel Off
Head came off easily but the barrel didn't want to move. Lots of gentle knock with bits of wood and even a bit of levering.
Ready for taking to the vapour blaster.
Labels:
dismantling,
engine
Head Off (1,523 Days into the project - how bad is that?)
Got the head off. I was very surprised at the carbon build up on the pistons and combustion chamber for such a low mileage motor.
Honing still visible:
But the cam chain guides show very little wear:
Labels:
dismantling,
engine
Saturday, 8 October 2016
Engine Comes Apart
It's been some time (well nearly 2 years) since I last posted for this build. Several other bike projects came along ( have you ever heard that before) and distracted me.
I was in debate as to whether to strip the engine or to try and clean it up as a lump. It was very corroded in parts and I couldn't find a vapour blaster who would take on the job of doing the engine as one lump.
The corrosion is bad:
There was no way this was going to clean up without some form of blasting. So today I decided to start stripping the engine down so it could all be vapour blasted prior to repainting.
So here we go. Cams out first:
The journals are looking good. Well they've only done about 15,000 miles.
And the camshaft lobes are like new.
Sunday, 14 December 2014
Steering Stem Mock Up (Day 848)
After months now (nearly 10) I have retrieved the frame from the loft where it had been resting all summer. During the summer I was inadvertently distracted by the purchase of a GS1150ES (we know them as a GSX1100) and getting my Road Runner bike ready for a tour of Europe.
See: my GS1150ES Restoration Blog ant my GS1100G Road Runner Project Blog
So Dad's bike has very much been neglected. Now it is in my home office and it can no longer be ignored. I am going to set the front up (no wheels) and attach the swing arm and as many items as I can over the winter. I hope to have a rolling chassis by the summer when I will concentrate on getting the engine ready to re-install.
![]() |
| My anticpated completion date is now looking like the summer of 2016. |
Monday, 3 March 2014
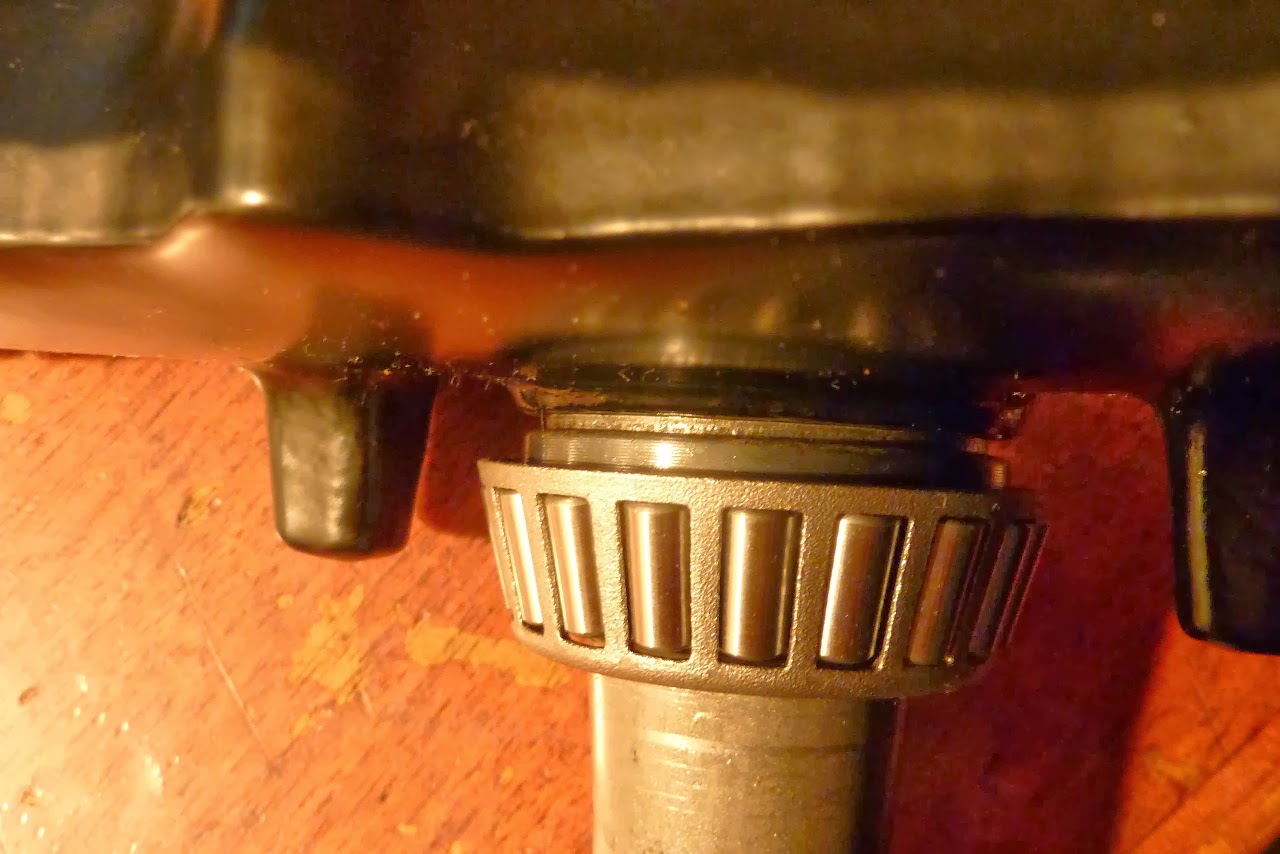
Installing Bearing on Lower Steering Yoke Stem (Day 562)
I found a neat little tool to help seat this bearing on the stem. Do the usual tricks of putting the stem in the freezer, heating up the bearing in the oven and oiling the stem. Then use the fork stanchion turned upside down as the bearing driver. It's dimensions are just right to fit inside the bearing to put pressure on the correct part. I used to rubber mallet to drive it home quite easily. Be careful not to damage the delicate threads at that end of the stanchion as you put it over the stem.
It's a perfect fit.
Home and dry.
I nearly forgot the washer when I started.
But it is there.
Sunday, 12 January 2014
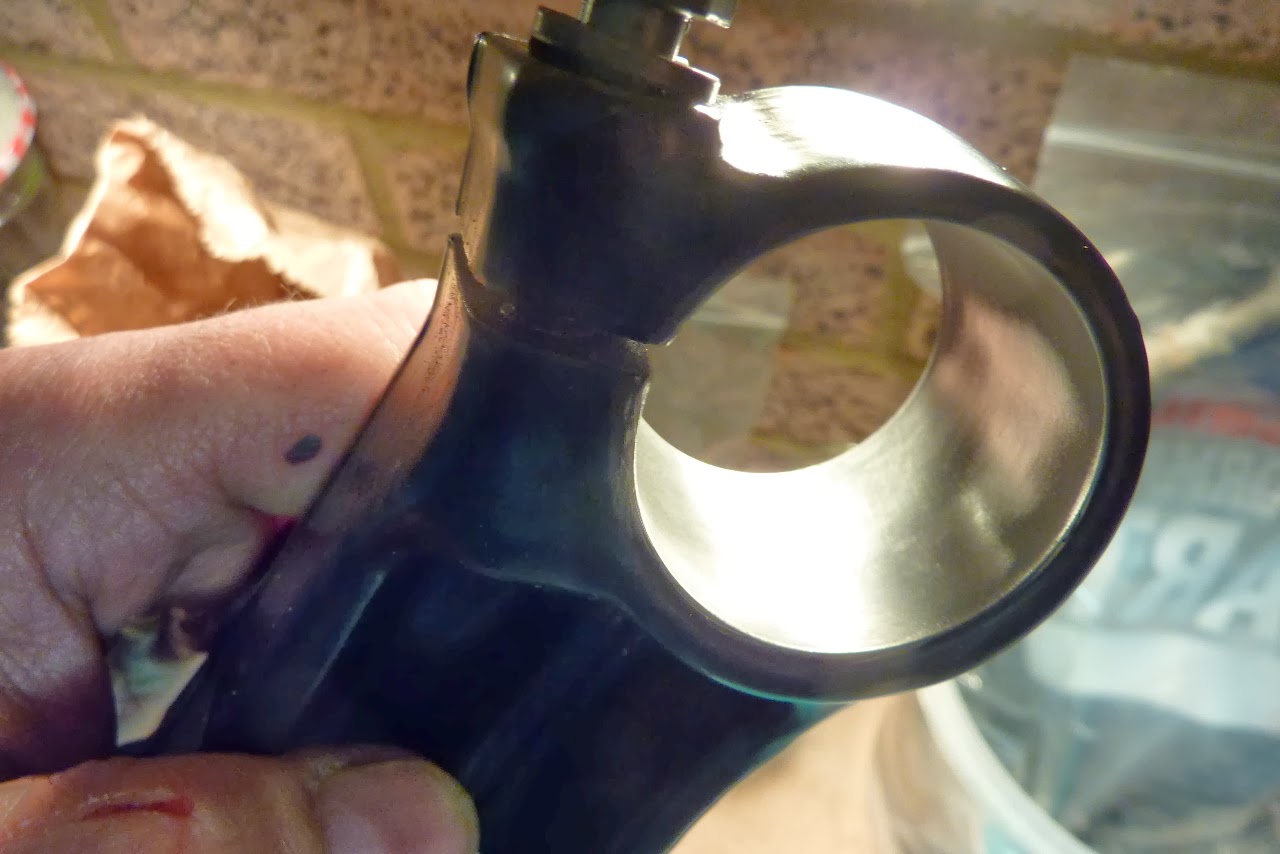
De-Painting Inside of Yokes
The powder coating had to be taken off the inside of the fork yokes or Ts.
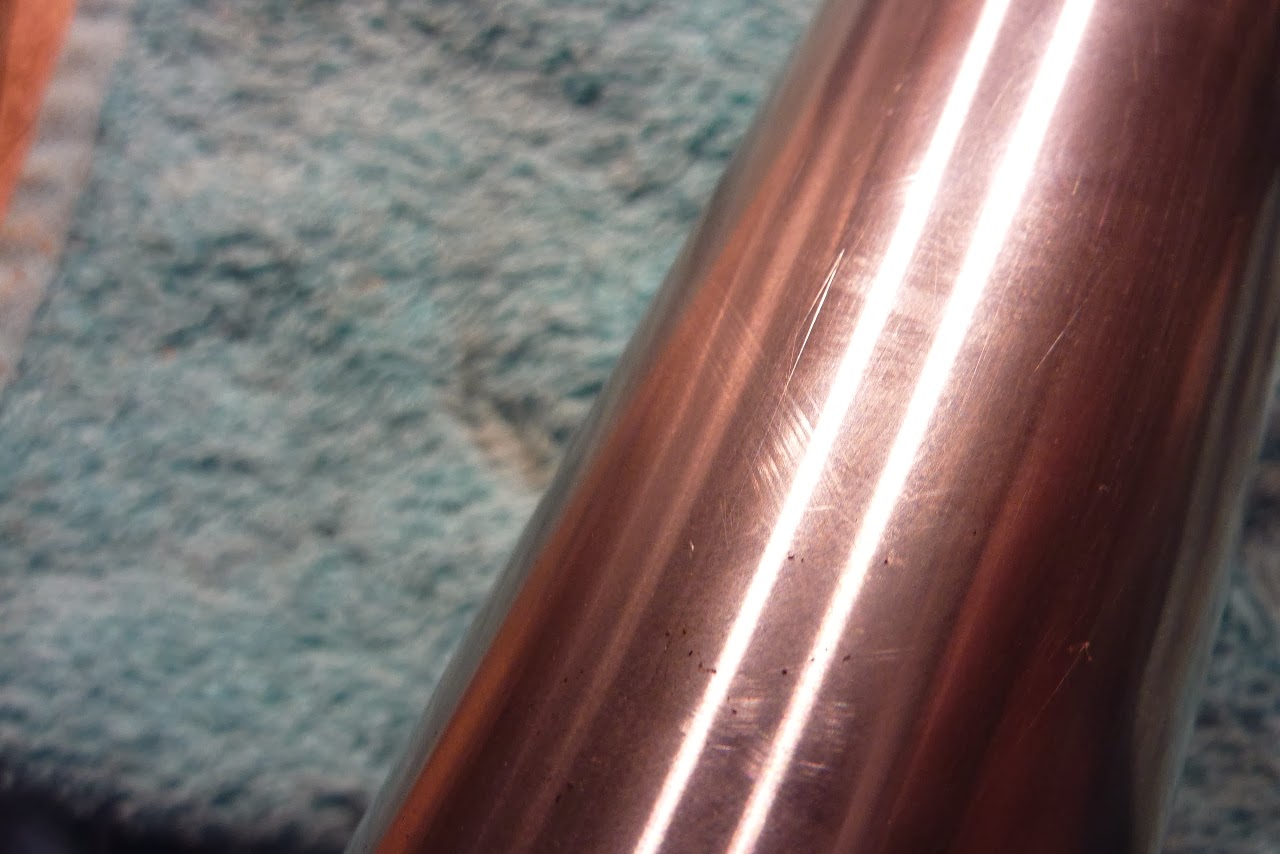
Fork stanchions slide in quite nicely now.
Be careful not to hit any outer surfaces with that abrasive.
And BEFORE you test putting in the stanchions, clean out all the grit so the stanchions do not get scratched.
Then I need to work out if the flat section, where the bearing will rest, needs to be cleaned up too. My surface here is quite lumpy. I don't think this is paint build up but it could be and there is also a washer that should cover it up. I don't want it to settle at a later date forcing me to do another head adjustment.
Labels:
painting,
reassembly,
running gear
Subscribe to:
Posts (Atom)