Sunday, 30 June 2013

Front Caliper (2nd one) Preparation for Painting

Despite my problems with the first caliper and some of the paint blistering, I am preparing the second caliper to start a new process which hopefully I can then reproduce on the first one.  So to strip the caliper I am again using VHT Aircraft Strip (very expensive and eventually does the job after a couple of applications).
On the first application you get this:

Which you then wash off and it looks like this:

There is still quite a bit of paint to come off so put on another coat of VHT Aircraft Strip:
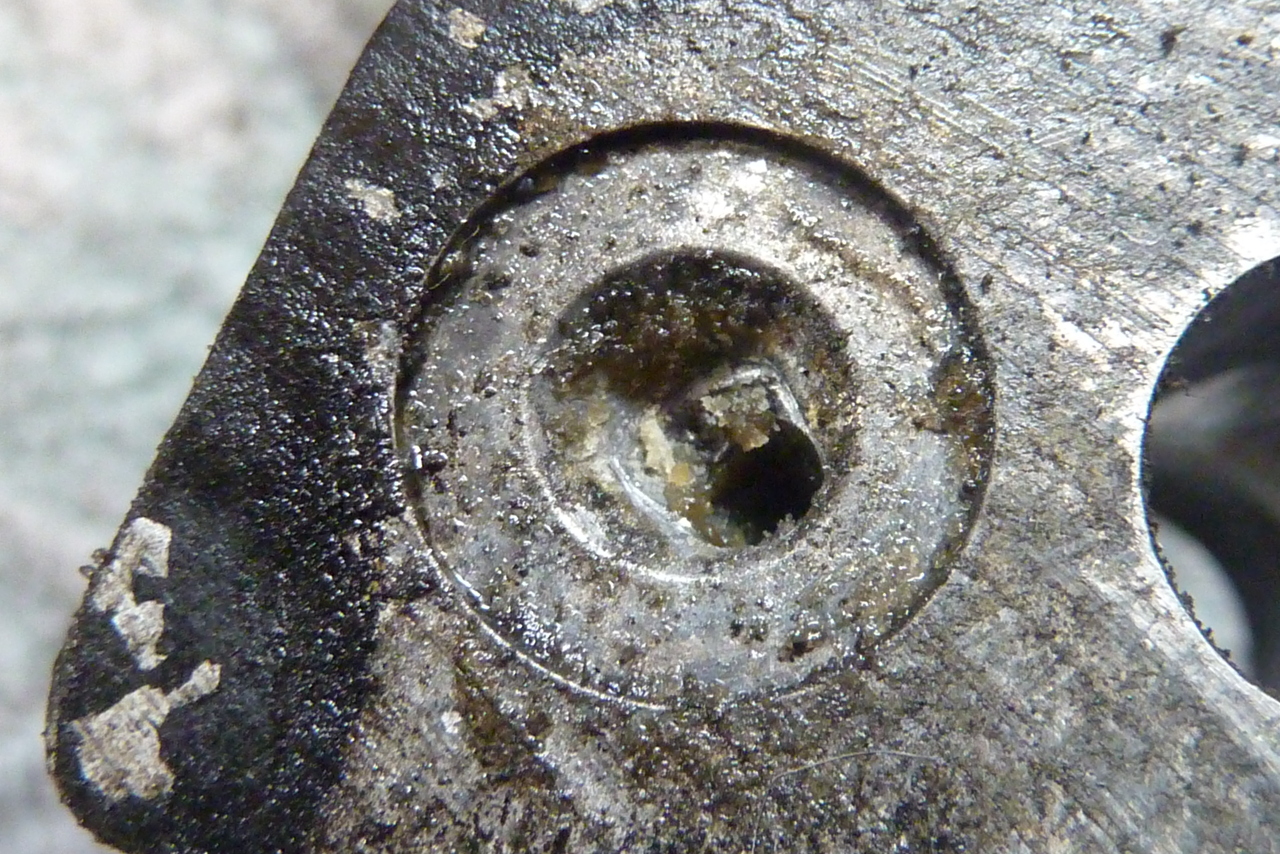
Then wash it all off again and what I did was to put it in my Ultrasonic Cleaner with some Automotive Parts Cleaner solution for about an hour at 70 Deg C.  When they came out and dried off you could clearly see why I am having a painting problem.  This caliper was much worse:
 The oxidation on this part is severe.  Vapour blasting it is.
 But on the other surfaces it looks OK.  This is deceptive as the oxised parts will reject the paint.


Friday, 28 June 2013

Another Way To Get a Piston Out of a Brake Caliper

I have managed to get pistons out of brake calipers before using the air pump method but this one wouldn't budge.  My solution was to dremel a couple of slots in the side of the exposed piston and lever them out.
 

 Once the slots are in you will need to use something to lever the piston out.  I used various sizes of allen keys to keep the slot at the correct height for levering.


Thursday, 27 June 2013

Caliper Painting Problems (again)

 Try as I might to get these calipers painted properly.  Always seems to bubble up in certain areas.  I bought an ultrasonic cleaner.  I stripped the paint again and cleaned them up in the ultrasonic then I applied paint prep liquid (spirit based fast flash off) bought from a specialist car paint place.  Then I did the 3 coats of paint (as per VHT instructions) and finally baked it in a 200 C oven for 1 hour.

 This was the painting part.
 
 Looks quite glossy before curing in the oven.
 My painting garage.
 After curing.
 Bubbles blew up in certain places.


 Looks like the lunar surface.
 But I have now got my suspicions.  These parts where it has bubbled were where there was considerable oxidation.  Although I had ultrasonically cleaned the caliper I do believe that this deep seated oxidation was not properly removed.  I could still see some discoloration where it was obvious something was going on.  I think next time (how many more times do I have to do this?) I will bake them at 200 C after cleaning and before painting.  This might removed any moisture that is trapped in the oxidation.

The bugger was that as I got them out the oven with some rubbish oven mits, I burned my hand, let go of the tray and dropped them on the floor.  So I am going to have to do them again anyway!

Wednesday, 19 June 2013

Items Sent to Powder Coating (Day 305)

I went through all my boxes of parts, looked over the dismantling log and pulled out all the components I thought were capable of being powder coated.  So I have the frame (click images to enlarge):


and a selection of other parts including the main stand
 the side stand, swing arm, side stand bracket, top and bottom fork yokes, rear brake caliper bracket and the 2 front fork air balancing tube widgets
 
 then there was the battery holder, ignition key set, horns, front wheel dust seal, air box side covers, speedo bracket, brake caliper arms, rear indicator arms, starter motor cover, horn cover (x 1 ??), electrics plate, handlebar clamps, exhaust bracket and a part next to the starter motor cover which I forget what it is.
 
 Then I have the helmet lock, seat lock, rear master cylinder and some bits I have put on other photos.
I have requested the satin black finish.  I tried to put in every conceivable part but you always forget something!  I left behind all the triangular engine brackets and the other horn faceplate.  Lets hope they won't mind doing a few little bits at a later date.

When I got to the powder coating company they told me they could not do the items with the locks in them as they would be ruined by the process.  They had previously told me that they couldn't do brake calipers either which is a shame as I will now have to persevere with the VHT paint.

Saturday, 25 May 2013

Carburetor Parts Plated

I just got my carb parts back from plating.  This lot has been cadmium plated and here are the before and after shots.  I will now be able to start the rebuild.


These restoration projects are all about getting the little details done.  Here they are done!


Thursday, 23 May 2013

Rear Caliper Paint Preparation

Stripped the paint off using VHT paint stripper.  It was more reluctant to come off than the lacquer from the front fork tubes.  I used nearly half a can on this lot - which is costly.  I will look for some cheaper paint stripper.

I would really like to pop these in an Ultrasonic cleaner now just to clean the passages and other places difficult to reach.  Need to buy one first.

Several questions:

1.  Do I paint or powder coat?
2.  If painting, what do I use to prepare the part with (my last couple of painting attempts have resulted in some bubbling when I have cured them).


Monday, 20 May 2013

Rear Caliper Disassembley (Day 275)

Rear calipers need to come apart.  So here goes:
 A little bit of concoction on the bolts and bleed nipple to loosen them up.
 One bolt beautiful the other not?  Strange.
And pull her apart.
Pretty grim looking inside.
 New pads I think.
 Now to get the pistons out with the air pump method.  Problem here is that once the piston comes out of one side of the caliper you lose the air pressure to get the other one out.  Thankfully they both moved so that when one popped out the other could be hauled out with a screwdriver.
  It looks worse than it is.  Pistons and calipers are serviceable.
 Pistons are good to go.
 

Worst amount of crud seems to be in the transfer passages.  Where the fluid passes from one side of the caliper to the other.  Looks like they are filled with some sort of grease.